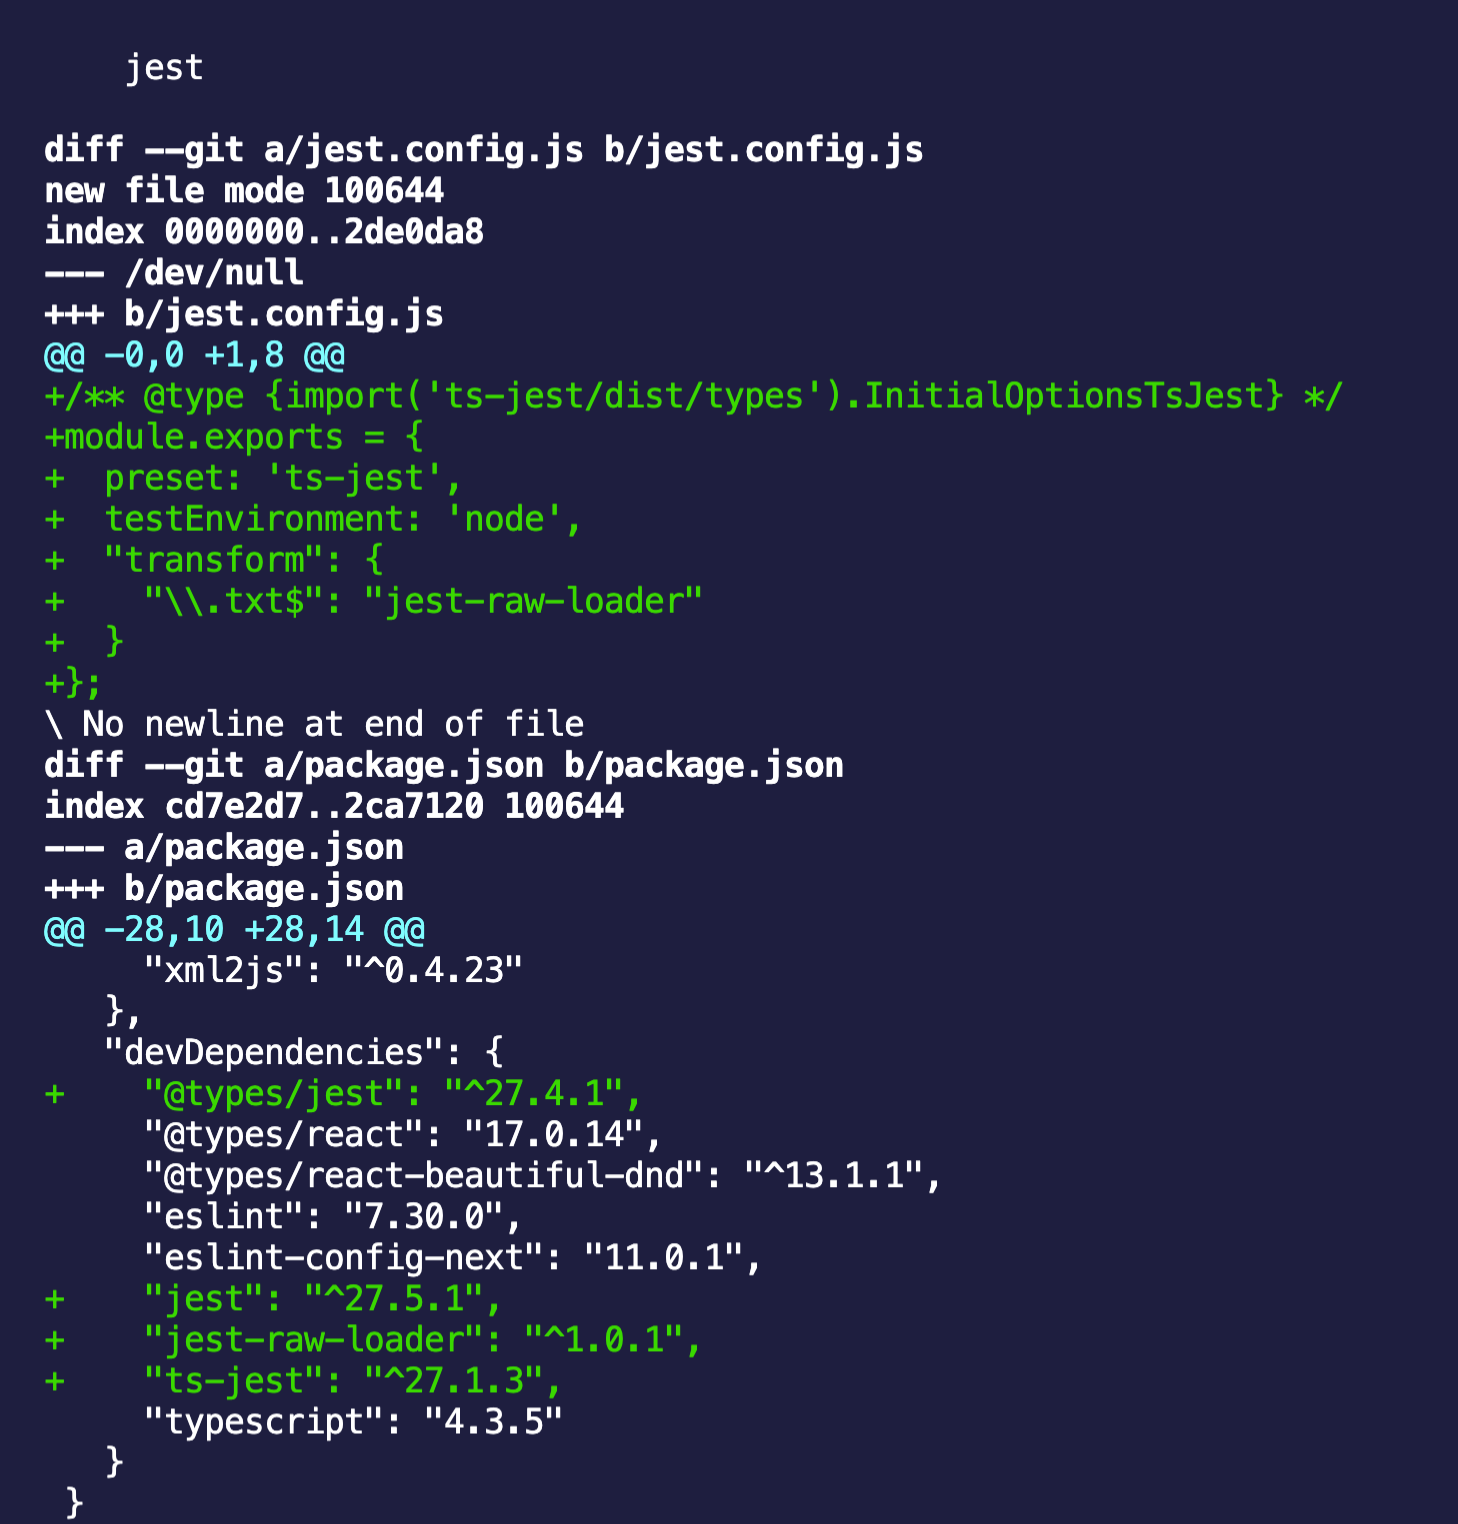
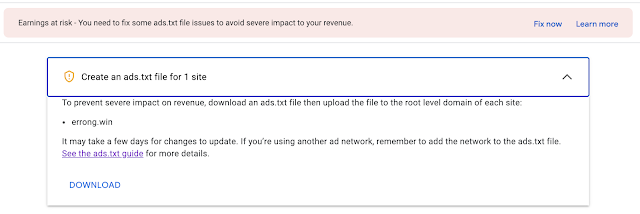
2023, New Start! New AdSense Account! New Earnings!


It's been a while after I created adsense account to display ads on this blog. A few years later the payment finally reached my payout threshold, I just found the existed adsense account is bind to China. but I moved to Canada 3 years ago. I tried to change the country of it,  but just found
 

Unfortunately it's not possible to change the country of your payment address in AdSense. If you've moved to a new country or territory, you'll need to cancel your existing AdSense account and create a new AdSense account.


           So I created a new adsense account today on 2023-01-12. Though new account is still under reviewing, I believe it will be approved soon.

To reach out payout threshold in this year, I set up the below plan:

write one blog per week day!!!

Try ingress more traffic to this blog

How To Setup OAuth Clients to Connect Your Oracle Cloud Autonomous Databases via REST

Oracle Cloud provides you about 40G always free Autonomous JSON Database. That's a lot for your personal learning or blog. Let's find a way to utilize the free space in your web application. This is a step by step to set up a OAuth Client to connect your Oracle Cloud Autonomous Databases.

Create a user account

ADMIN is the default user and it has the administrator permission to your database. You don't want to your application use ADMIN user to connect. It is recommended to create a separate user per web application.

As the ADMIN user, access Database Actions and create a user with the required privileges.


Remember select "UNLIMITED" as Quota on table space DATA if you are not sure the quota size of your JSON document.

Enable REST for the new created user

Switch Authorization required on for security concern

Sign out as the ADMIN user and Sign in to Database Actions as the new user that is setting up to use OAuth authentication.


Create OAuth Client

input client information

Grant Required Roles
Grant Privileges
You just created a new OAuth Client, you will get a client id and secret.

References


How to custom storage adapters to make your self-hosted Ghost instance filesystem completely external?

I set up my self-hosted Ghost on a free Google Compute Engine(a E2 micro GCP VM instance) several years ago.

The free disk after running a Ghost on the vm is only about 6G left, while

Ghost uses local file storage by default

In order to save the free space, I would like to seek a way to save images into external storage.

The above code section is based on this Ghost source commit.

After dive deep into Ghost open source, you can change the above /images/upload implementation and save the file to any external storages such as AWS s3.

Or you can follow this official config guide: https://ghost.org/docs/config/#creating-a-custom-storage-adapter

You can refer to this widely tested AWS s3 adapter.


My custom idea: try to use Oracle free 40G database to save images

I always like free storage. Oracle JSON database can give you 2 instances, 20G each.
In a word, Oracle give you 40G free database storage.
I am thinking custom the upload endpoint's implementation and save the image files into Oracle JSON database.

POST http://localhost:2368/ghost/api/admin/images/upload/


The response will be like below:
{"images":[{"url":"http://localhost:2368/api/admin/images/dbx/idx","ref":null}]}
dbx the Oracle json database instance(since Oracle gives 2 free instances).
idx the json document unique id saved into Oracle json database.

We need to provide a new endpoint to parse the above response url.
Since we save it in JSON format, while browser expects an image source url to return an image binary.

This is just a proposal, I will share the implementation once done.


I implemented the custom storage adapter and let it open source. See this post to find how I build up the storage adapter.
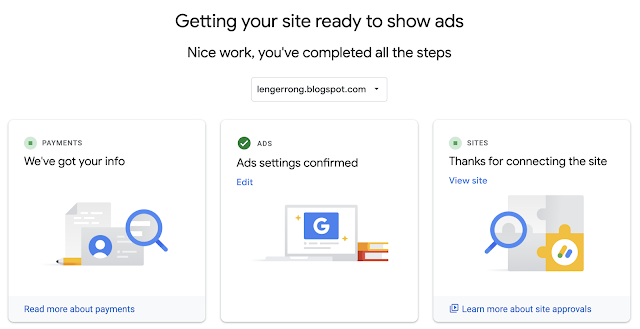


set up jest for your typescript project and how to import txt files in your unit tests


Getting Started

These instructions will get you setup to use ts-jest in your project. For more detailed documentation, please check online documentation.

using npmusing yarn
Prerequisitesnpm i -D jest typescriptyarn add --dev jest typescript
Installingnpm i -D ts-jest @types/jestyarn add --dev ts-jest @types/jest
Creating confignpx ts-jest config:inityarn ts-jest config:init
Running testsnpm t or npx jestyarn test or yarn jest


to import txt file as string, via jest-raw-loader

/** @type {import('ts-jest/dist/types').InitialOptionsTsJest} */
module.exports = {
preset: 'ts-jest',
testEnvironment: 'node',
"transform": {
"\\.txt$": "jest-raw-loader"
}
};

or follow https://nextjs.org/docs/testing if you are using next.js


https://www.npmjs.com/package/jest-raw-loader

https://github.com/kulshekhar/ts-jest

https://jestjs.io/zh-Hans/docs/getting-started

https://jestjs.io/docs/configuration#transform-objectstring-pathtotransformer--pathtotransformer-object


Import txt files as string into your next.js App

 import file from './xxx.txt'

Webpack 5 has 'Asset Modules' to allow you to import assets without configuring loaders now.

Next.js use Webpack 5 internally, so we can use 'source assets' to import txt files as strings.

Two steps to let you be able to import a txt file as a string.

custom Webpack config for next.js


config.module.rules.push({
test: /\.txt$/i,
type: 'asset/source'
})

declare txt as a module for typescript

Wildcard module declarations can be used to cover these cases.

declare module '*.txt' {
const content: string;
export default content;
}

example

import t1 from './1.txt'
console.log(t1)

output

event - compiled successfully
离开罪之路的人蒙祝福,
他不去随从恶人的计谋,
他不会站在罪人的道路上,
也不去坐好讥笑人的座位,
他喜爱的是耶和华律法,
昼夜默诵的也是他律法。

The full commit to enabling import txt files in your next.js app


references

fixed: embedded-redis: Unable to run on macOS Sonoma

Issue you might see below error while trying to run embedded-redis for your testing on your macOS after you upgrade to Sonoma. java.la...